
Crediting Grades
Summary: This article
Accessingprovides thedetailed Checklistinstructions Page
on 1.how Accessto theaccess and use different interfaces for crediting grades in a student's profileacademic page.record, Seeincluding Accessingboth aretroactive Studentand Profile.2.transferee Gograde toentries. theFor Checklist tab.
Using the Regular Checklist Interface
By default the checklist page loads the page using the Regular Checklist interface.
Retro-encoding Grades
Retro-encoding grades means encoding grades of a student for previously taken classes. There needs to be an existing class to be created before encoding the grade. To Retro-enrollretro-enrolling students instead (i.e. go through the process of enlisting and assessing student fees for classes taken on previous terms or academic years), see Enrolling students to classes of previous academic years or terms.
Accessing the Checklist Page
1. Navigate to the student profile. Refer to Accessing a Student Profile for detailed steps.
2. Select the Checklist tab.
Using the Regular Checklist Interface
The checklist page uses the Regular Checklist interface by default.
Retro-encoding Grades
Retro-encoding involves adding grades for classes previously completed by a student.
1. Select the subject to credit:
Navigate to the student program subjects list. Click the plus icon beside the subject or course for credit.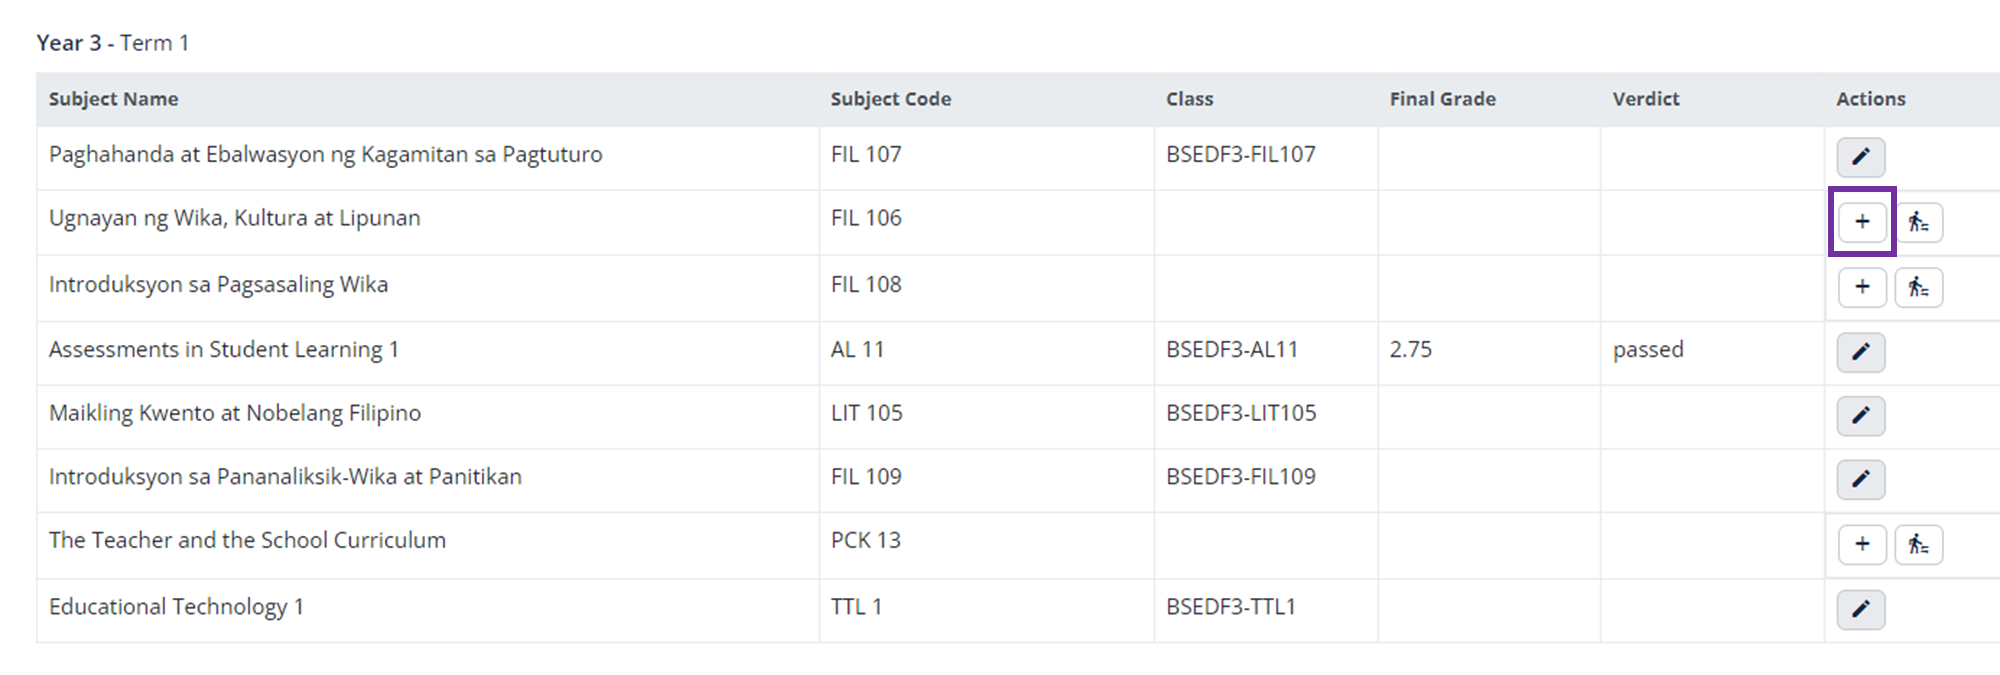
This action opens the grade crediting page.
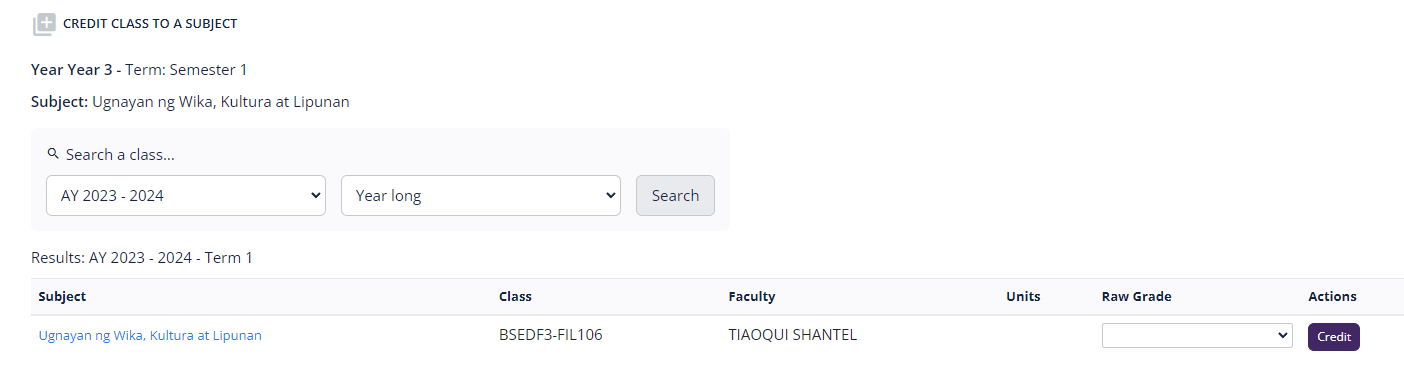
2. Choose the class and grade:
If the required class does not exist, refer to Adding and Modifying Classes.
3. Apply the credit:
Credit button once selections are made.
Encoding Grades of Transferees
1. Select the transferee subject:
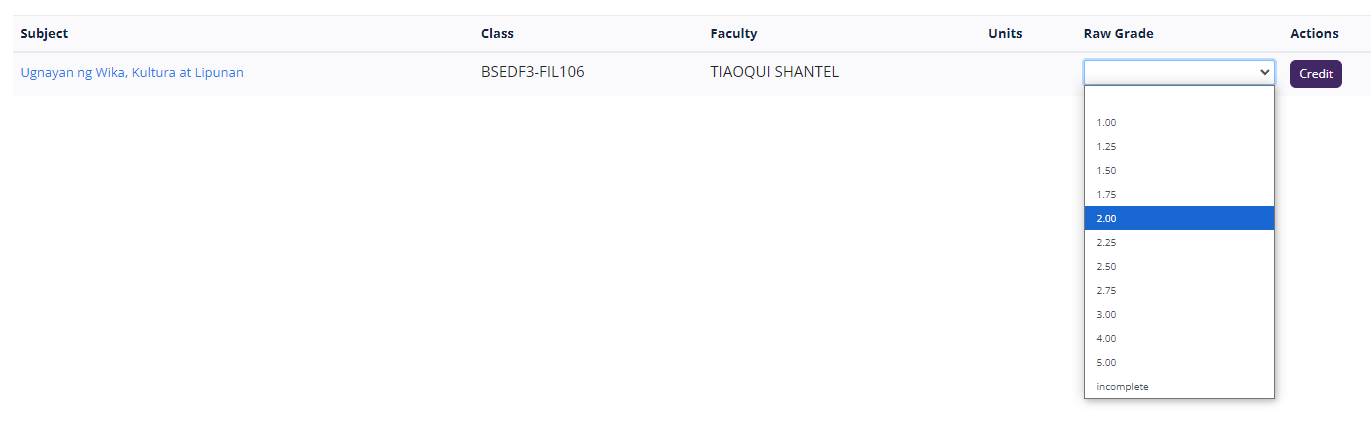
2. Select from existing classes to credit and choose the grade from the dropdown menu.
If there are no classes to credit, create a class. See Adding and Modifying Classes.3. Once done, click Credit.
Encoding Grades of Transferees
1. From the list of student program subjects, select the subject or course that will be credited, and click the transferee icon.icon next to the relevant subject.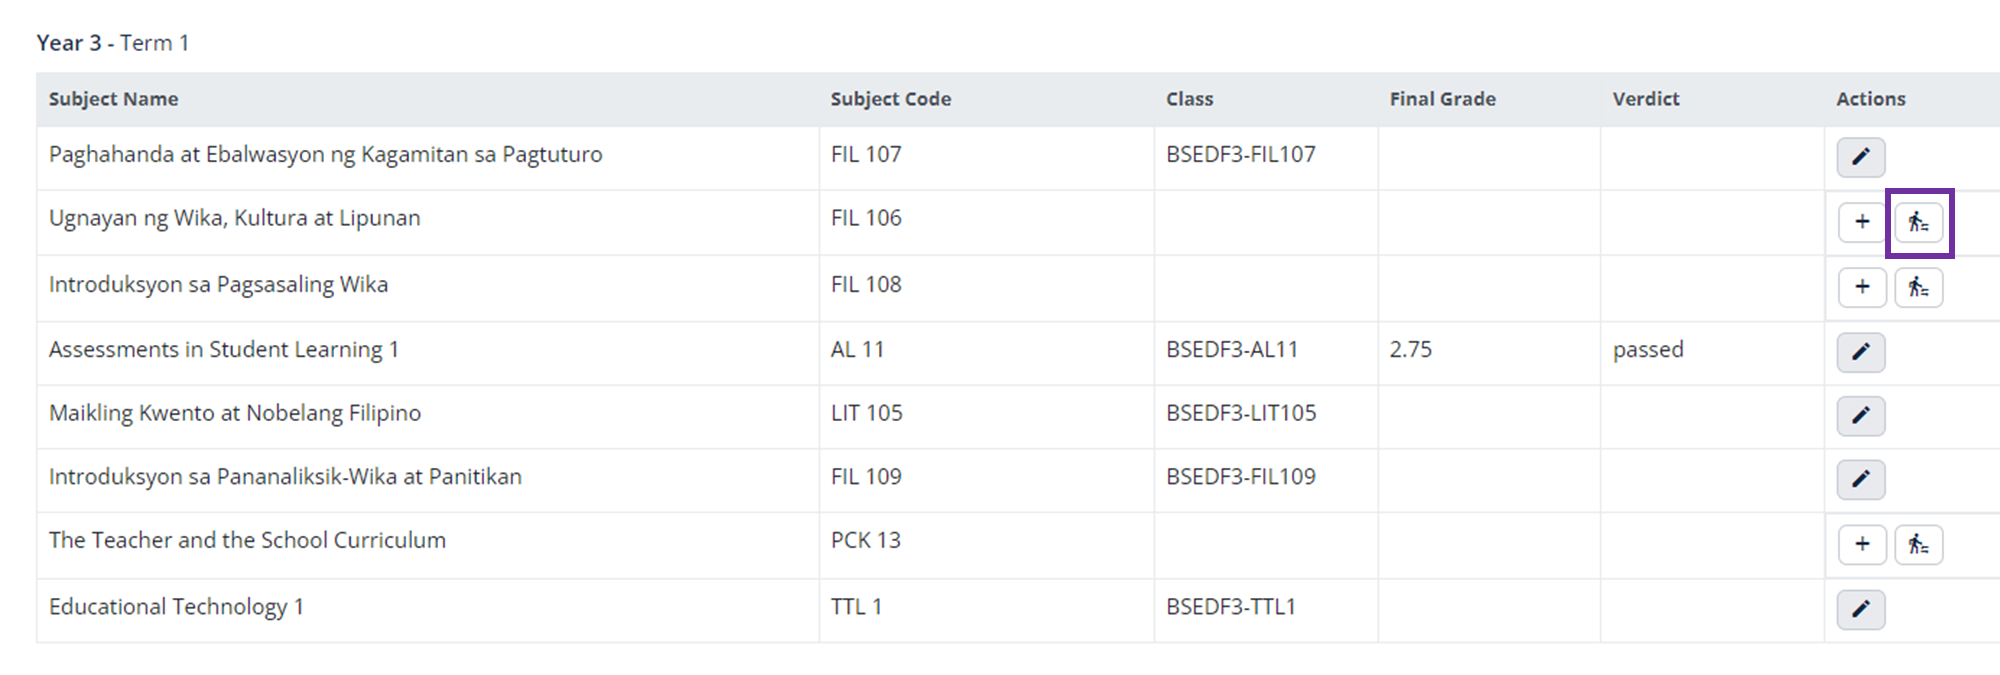
This will openopens the Transferee Grade Encoding page:page.
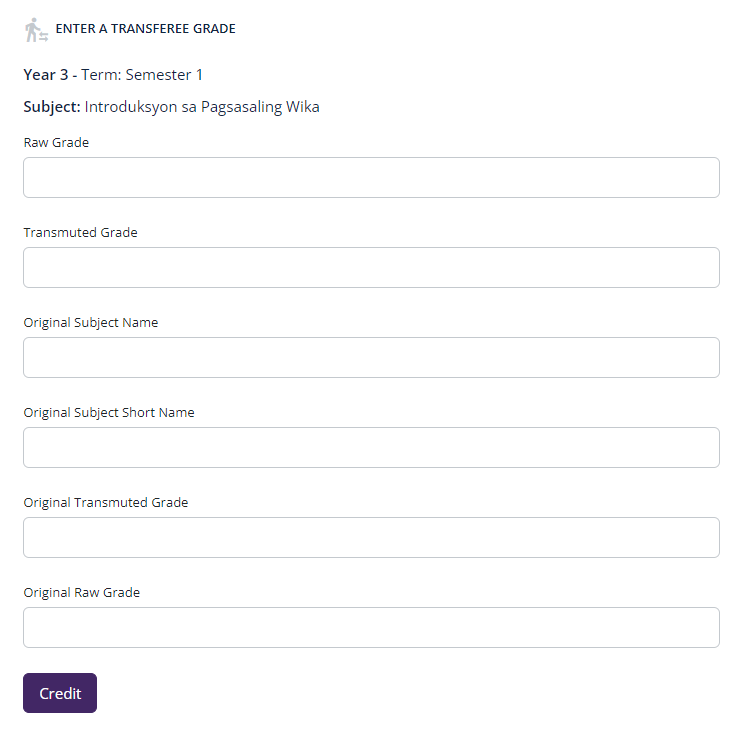
Complete2. theInput fieldsgrade as indicated:
details:
Raw Grade -Enter the rawgradeandfortransmuted grades as required.
Once3. that's done, clickFinalize the crediting:
Credit Using Open Crediting Interface
The other interface that one canTo use is the Open Crediting Interface.Interface:
1. switchSwitch tointerfaces:
Switch to Open Checklist.
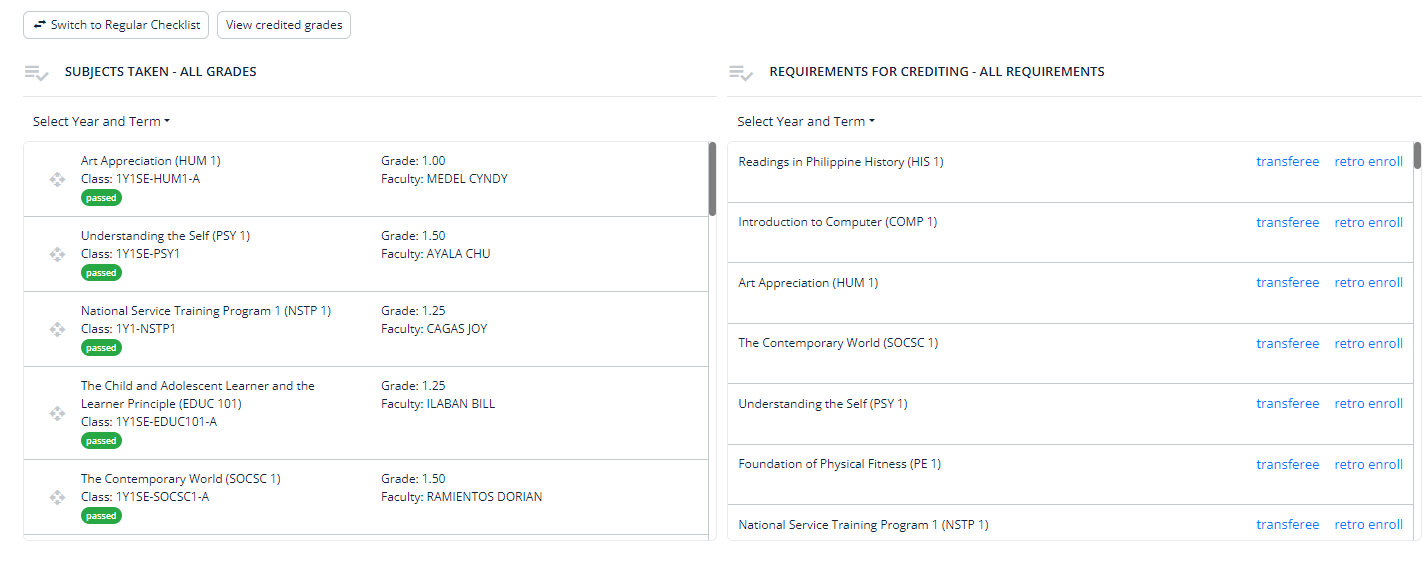
2. Process credits:
Retro-encoding Grades using Open Crediting Interface
From the list of requirements for crediting, select the subject or course that will be credited, and click the retro enroll button. This will open the grade crediting page.
Encodingencoding Gradesby of Transferees
Fromselecting the sameappropriate listbuttons.
For clickadditional guidance on navigating and utilizing the theinterfaces, transfereeplease link.refer This will open a Transferee Grade Encoding modal window, containingto the samerespective fieldsdetailed aspages discussedlinked above. Followthroughout the same instructions as above.text.