
Crediting Grades
Summary: This article provides detailed instructions on how to access and use different interfaces for crediting grades in a student's academic record, including both retroactive and transferee grade entries. For retro-enrolling students instead (i.e. go through the process of enlisting and assessing student fees for classes taken on previous terms or academic years), see Enrolling students to classes of previous academic years or terms.
Accessing the Checklist Page
1. Navigate to the student profile. Refer to Accessing a Student Profile for detailed steps.
2. Select the Checklist tab.
Using the Regular Checklist Interface
The checklist page uses the Regular Checklist interface by default.
Retro-encoding Grades
Retro-encoding involves adding grades for classes previously completed by a student.
1. Select the subject to credit:

This action opens the grade crediting page.
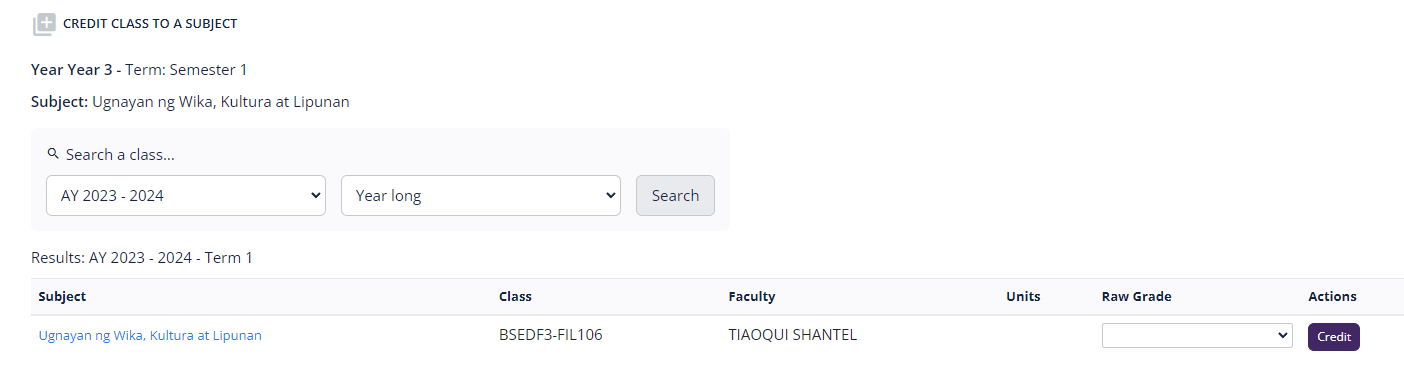
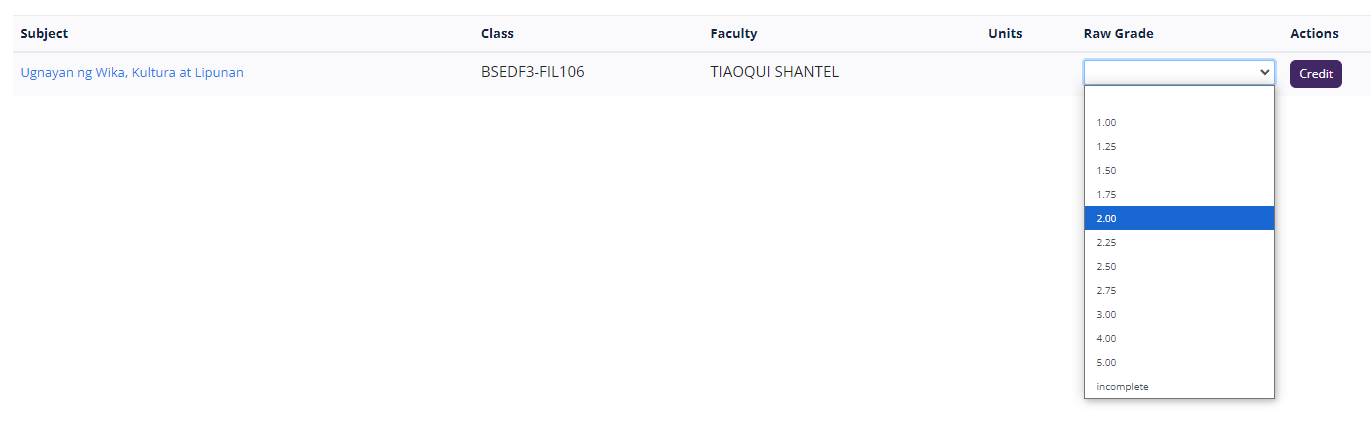
2. Choose the class and grade:
- Select the class from existing records.
- Choose the grade from the dropdown menu
If the required class does not exist, refer to Adding and Modifying Classes.
3. Apply the credit:
- Click the
Creditbutton once selections are made.
Encoding Grades of Transferees
1. Select the transferee subject:
- From the list of student program subjects, click the transferee icon next to the relevant subject.
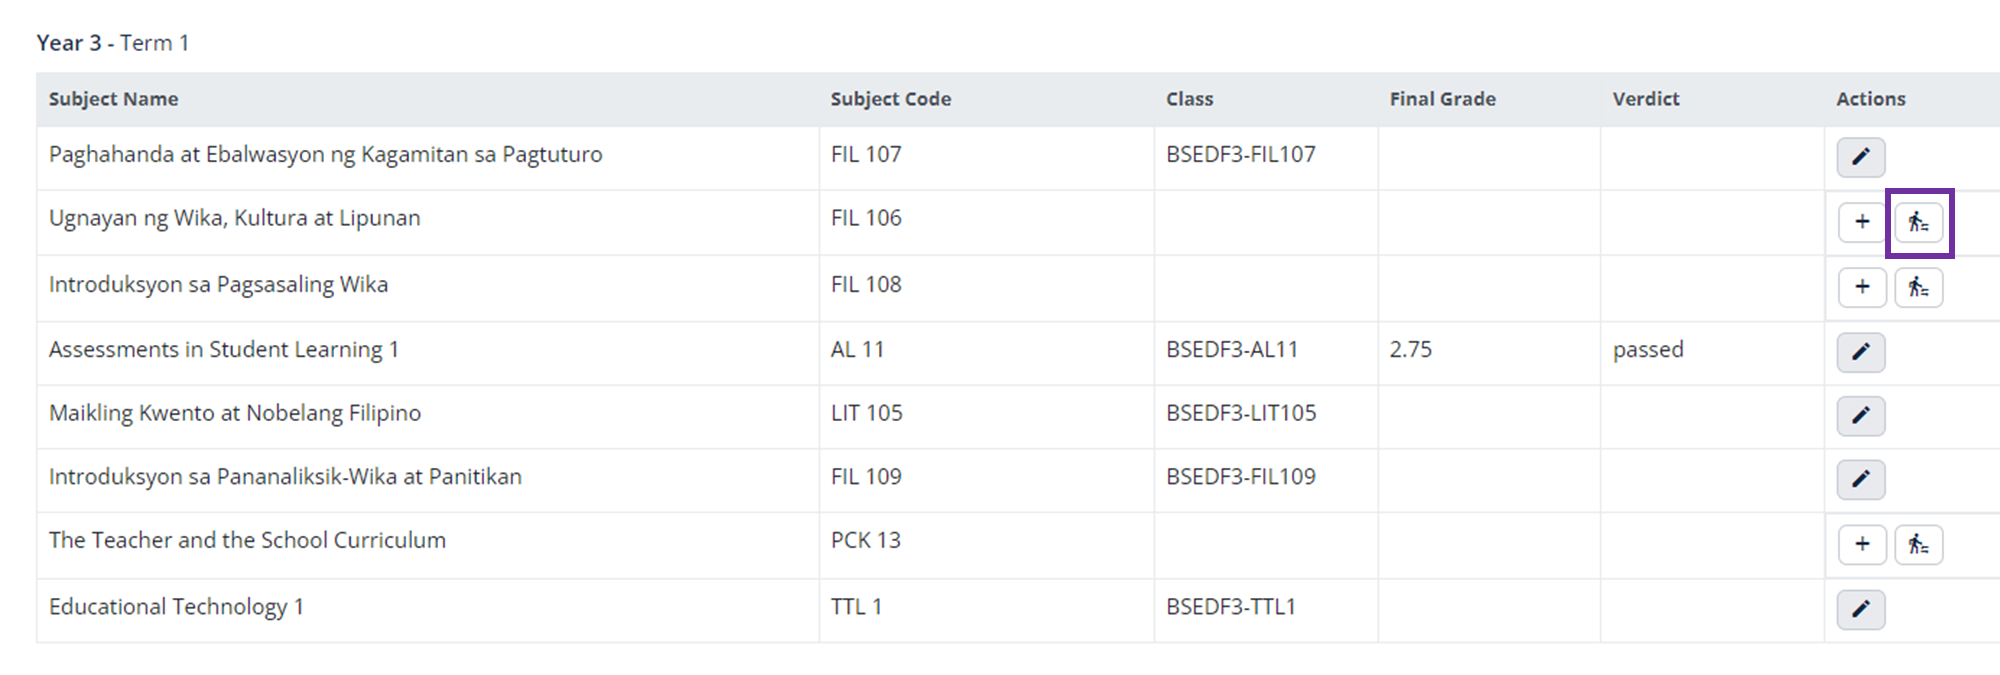
This opens the Transferee Grade Encoding page.
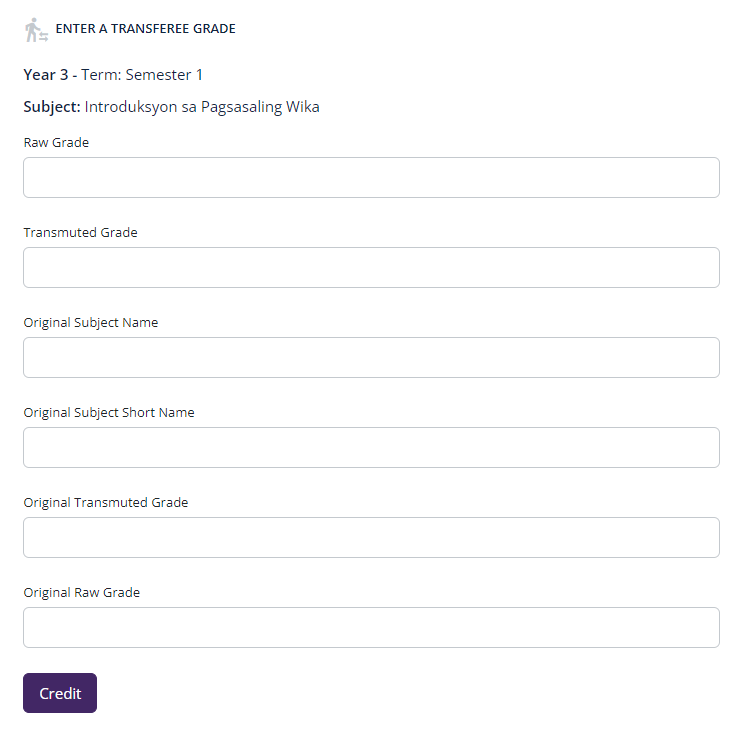
2. Input grade details:
- Enter the raw and transmuted grades as required.
- Provide the original subject name and grades from the previous school.
3. Finalize the crediting:
- Click the
Creditbutton to complete the process.
Using Open Crediting Interface
To use the Open Crediting Interface:
1. Switch interfaces:
- At the Checklist page, click
Switch to Open Checklist. - The page will reload with the Open Crediting Interface.
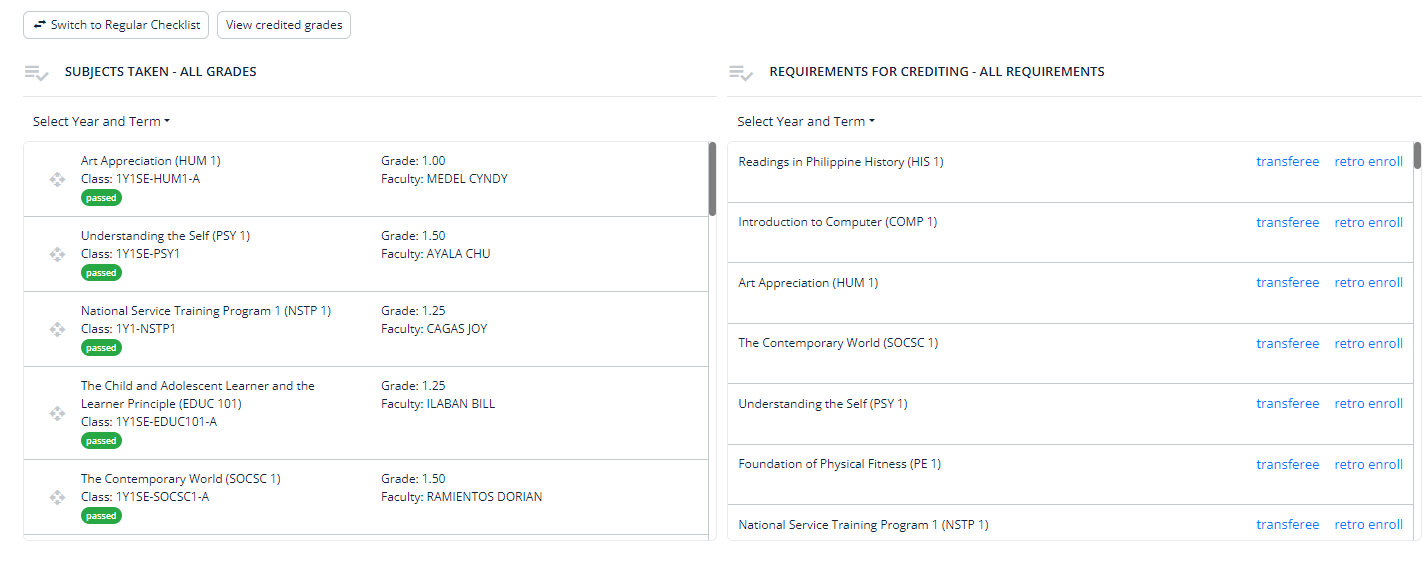
2. Process credits:
- The interface displays two tables: Subjects Taken and All Requirements.
- Follow similar steps for retro-encoding or transferee grade encoding by selecting the appropriate buttons.
For additional guidance on navigating and utilizing the interfaces, please refer to the respective detailed pages linked throughout the text.